

Remember a while back when we talked about the difference between co-washing and pre-pooing, and I said later on down the line of my natural hair journey I would probably come back to this topic? Well I’m back on that topic today, specifically for pre-pooing. After our previous post, I decided to look more into the method to treat my dry scalp and bring out more of my curl definition. Right now, my favorite pre-poo would be my special blend of avocado, honey and oil.
To keep things organized here and separated from other pre-pooing techniques to come, we are going to call it the Avocado Pre-Poo Treatment.
For the Avocado Pre-Poo Treatment, you are going to need the following items:
 Photography provided by @K_DougDE
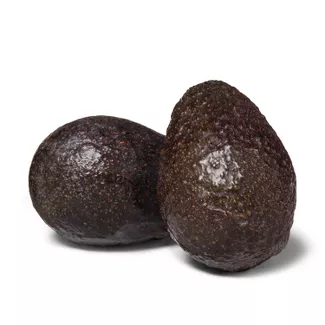
- One (1) Avocado – Make sure it is fairly ripe, but not brown. If it’s brown on the inside it won’t work, avocado needs to be as fresh as possible.
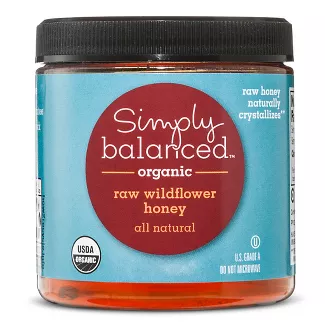
- 1/2 Cup Honey
- 1/3 Cup Oil – This could be tea tree oil, olive oil, coconut oil, etc.
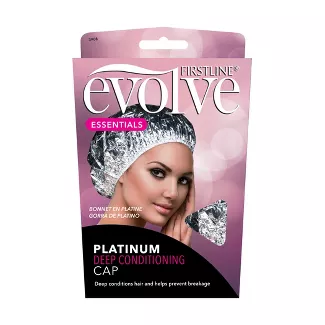
- One (1) Plastic Shower Cap
- One (1) Wide Tooth Comb
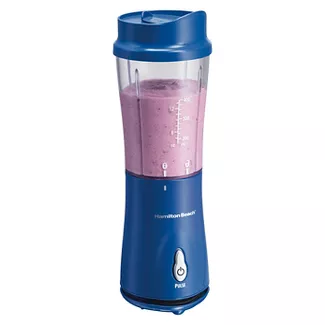
- Blender
- One (1) Knife
- Cutting Board
- Hooded Dryer
- Two (2) Towels
- Shampoo
- Rinse Conditioner
- Leave in Conditioner
Creating Pre-Poo Treatment Instructions:
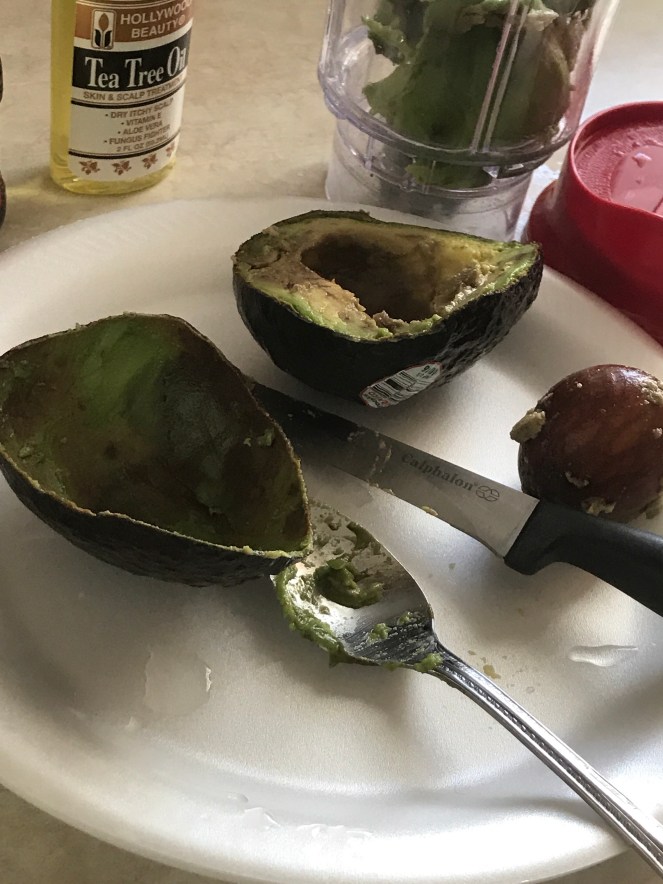
 Cut avocado in half. Scoop out the seed in the middle and place it to the side, you won’t be needing it for this treatment but it is a great idea to keep the seeds for gardening season if you are into growing your own produce from home.
- Begin scooping out the insides of the avocado. This would be the light greenish area inside of the seeds for the plant. This step is where you will know whether or not your avocado is any good. A ripe avocado will be very, very easy to scoop out. One that has not ripened will be extremely hard to the point where you’re having to cut the entire plant apart in order to get the insides out. That’s not something you want for this particular treatment and was the very first mistake I made when I first tried this out so make sure that your avocados are good and soft before beginning. You also don’t want an old avocado either. This was almost another mistake I made during my second attempt at this treatment. Old produce is not good for you hair at all and could cause mold to form in your hair which you do not want at all. The fresher the produce, the better.
 Photography provided by @K_DougDE
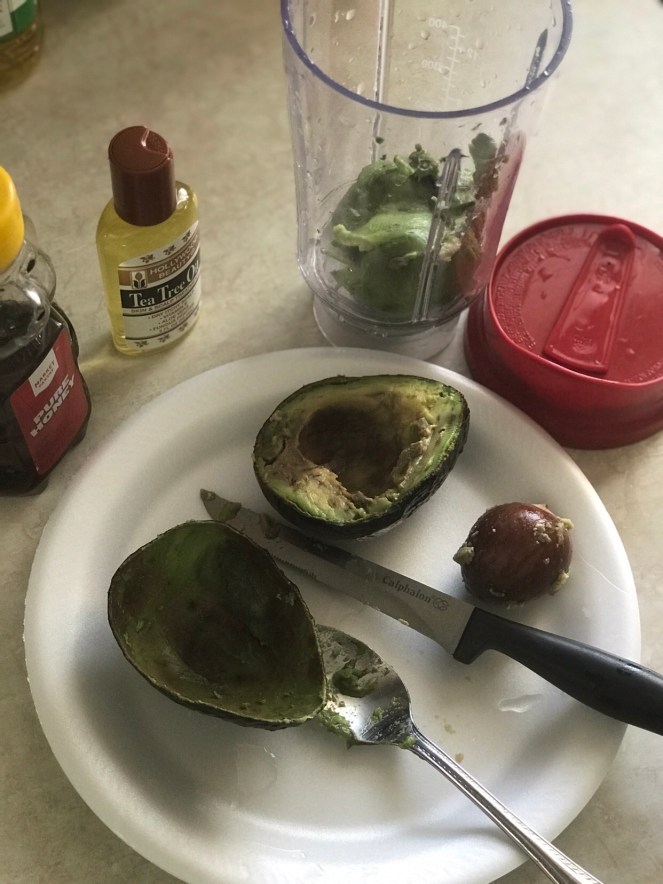
 - Once you have scooped out the insides of the avocado, place them into your blender or mixer. I am using the Hamilton Beach Single Serve Blender that I purchased from our affiliate Target online. It only cost me around $15.00 – $17.00 USD which wasn’t too bad in price and it has been reliable for me for over three years now. Depending on how hard your avocados are, you can go ahead and chop them up in your blender, or you can wait and chop everything up at one time, either decision is up to you.

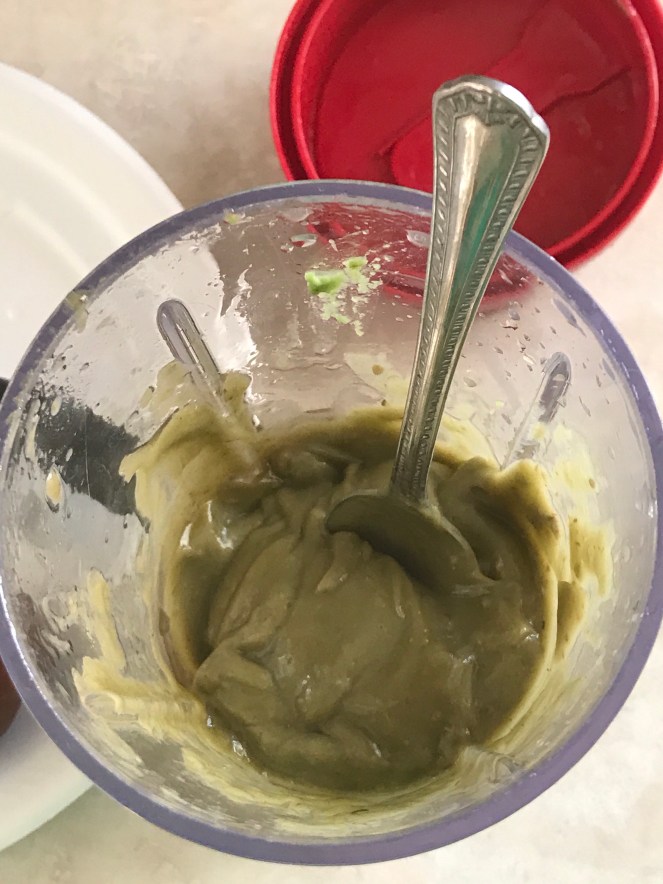
Next you would measure out 1/2 cup of honey and place it into your blender with your avocados, along with 1/3 of a cup of your oil of choice. The honey itself will turn your mixture from a pure light green color, to a slightly green plus brown color but don’t be alarmed. This is only from the different color products mixing together. The honey alone with greatly improve your curl definition. Your curls will come out shinier and bouncy, also aiding towards your shrinkage if you have 4A & 4C curl patterns like myself. Tea tree oil was added for this treatment because during the colder months I have problems with my scalp peeling a lot due to moisture loss. Tea Tree oil has been the only oil product that has helped me towards healing my scalp and protecting it against the colder temperatures this season. Once everything is measured out correctly, we would then mix everything together and you have your pre-poo treatment ready!- Bonus Step: If you notice bigger chunks of avocado still left in your mixture after blending, you can use a strainer to catch them and only use the leftover liquid mixture in your hair. It is best to remove larger chunks because you don’t want to fight to get those big chunks out of your curls, it is a headache and takes up too much time.
 Photography provided by @K_DougDE
Step One: Rinse Hair
For the first step in the Avocado Pre-Poo Treatment, we are going to start off with damp hair. Mine at the time had been in a protective half up and half down style for about two weeks straight so it was a little dirty and needed to be moisturized. I began by rinsing my hair thoroughly so that it was nice and damp for the application of the treatment. Please keep in mind that you can separate your hair into sections while rinsing, but for mine I preferred to wet it all at the same time. I have never applied this treatment without rinsing my hair first.
Step Two: Applying Treatment
Second step includes applying the pre-poo treatment to your wet hair. For me, I grabbed pretty big sections of hair and hand applied the treatment. It should feel like a slight conditioner in liquid form when applying, not chunky. If it does go on chunky, go back and use a strainer to get the bigger parts off of it, or re-blend until creamy. Each section was applied treatment, slightly finger detangled and twisted into bantu knots. Be sure to wrap your first towel around your neck as you apply the treatment to your hair.
This step may get a bit messy if this is your first time trying.
Step Three: Dryer Time
Third step after you have applied treatment to each section, would be to place a plastic bag over your entire head and sit under your hooded dryer for about 20-25 minutes with high heat. The heat will allow for the treatment to absorb not only into your hair, but also into your scalp as well under the plastic cap making your hair softer and easier to style.
Step Four: Shampoo Time
After 20-25 minutes under the dryer, rinse the treatment out of your curls with warm water. Make sure you rinse all of the treatment out of your hair before applying anything else moving forward. You don’t want leftover chunks of produce still tangled in your curls. Once all the treatment is rinsed out, go ahead and begin your normal shampoo routine.
Step Five: Conditioner Time
Once you have shampooed and rinsed the shampoo from your hair, apply your conditioner as you would your normal hair routine. Always rinse your conditioner out of your curls with cool water to seal moisture.
Step Six: Leave In Conditioner Time
Once you have rinsed your conditioner from your curls with cool water, apply your leave conditioner of choice and style your hair as you please.
You can mix up the oils with this treatment and replace the tea tree oil with others. The first two times I tried this treatment, I used coconut oil and it gave my hair a very soft feel. That particular treatment was done in the summer time as well to add to my wash and go’s. I have seen some vloggers and natural hair bloggers use other oils as well including walnut oil, jojoba oil, and the famous one olive oil.
Enjoy the convenience of purchasing all items included in this post below from Target. Click each image provided and shop away!


Disclaimer: Affiliate links have been included in this post in which Delux Designs (DE), LLC sister site DeluxHair receives a commission from any sales made through this post. We assure you, the products featured through DE from product reviews are products that we recommend based off of our own personal experiences from using them.

Follow our social media page links listed below for all updates on natural hair care, style tutorials and much more! Thanks for your support everyone!
Facebook | Instagram | Pinterest | Twitter

Such a unique idea… what do you use for shampoo and conditioner… mainly brand or DIY recipe?
LikeLike
Right now, mainly brand. I just now starting off with DIY conditioner to see how my hair reacts to certain produce.
LikeLike